If you have enough room i would suggest nailing trough the drip strip into the fascia below the drip edge.
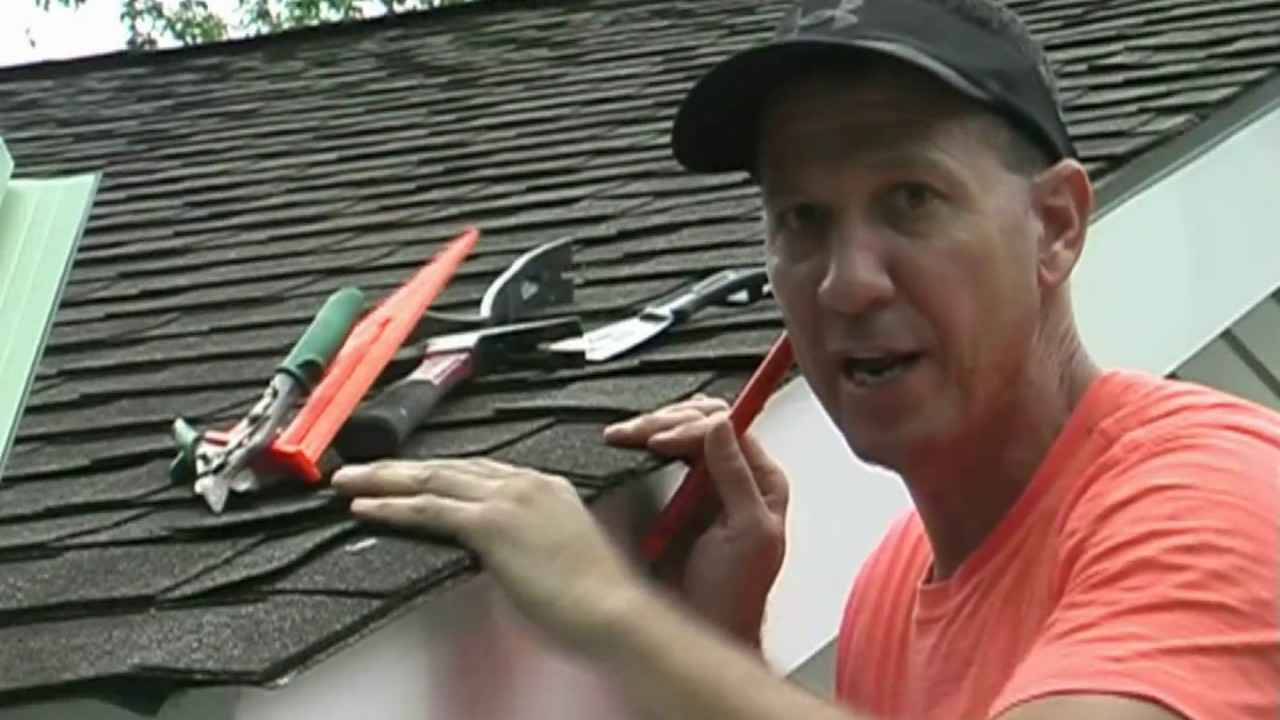
How to secure roofing material to drip strip.
Both raw material and finished product is made in the usa.
Hammer nails into the rolled roofing to secure it.
Dip a 2 inch wide brush into the cement and lay a 2 inch line of cement from end to end of the.
Keep rain in the gutter with drip strip.
Let me know if you need anything else.
Open a can of roofing cement.
Atlantic drain do you have water running behind the gutter.
Neg s new drip strip installs easily behind the drip edge to prevent water and ice from getting behind the gutter and harming the fascia board.
You can also use.
Hammer the nails in at 10 inches 25 cm intervals across the roof.
Make sure when driving the nails you also flatten the flashing as flat as possible.
It will stop water from going between the facia board and back side of the.
Gently lift up the shingles on the edge of the roof and locate the nails holding the existing drip edge onto.
If necessary secure the ends of the drip edge with short roofing nails.
Remove the drip edge and apply a thin strip of roofing cement at the top edge above the line you marked and slide the drip edge back under the shingles to the mark you made.
Once free slide the drip edge out and discard.
All you need to do is slide the wider side of the drip strip between the roof edging and the fascia board leaving the 70 degree offset portion of the drip strip hanging out past the back of the gutter.
Secure the drip edge with roofing cement.
Use a flat pry bar and hammer to pry the nails out of the drip edge gently.
Just be sure they re positioned high up under the shingles.
Ensure that you hammer the nails properly into the roof don t leave the nails sticking up above the layer.
Apply a continuous bead of cement along the top of the drip edge then press down on the shingle.
You need drip strip.
I recommend using 1 trim nail in the center and one on every overlap of the ends.
To install drip strip it is simple.
Aluminum or stainless trim nails are fine.
This is an asphalt based glue that will adhere to almost anything.
Use a roofing nail 1 to tack the drip edge down one every 10 when placing two pieces of drip edge together overlap one end over the other by 1 and secure using two roofing nails one in the back and one in the front.
Drip strip comes in 8 foot lengths in white or musket brown and can be ordered from your local erie materials branch.