Is there a way to tag or indicate the slope of a roof in the roof plan for construction documentation.
How to show slope arrow for roof on plan.
In site plans the preferred way to indicate slope is with contours.
Our roof was created with the roof tool and the slope was input in the properties dialogue.
It depends on which level you cut the plan.
Create a rectangular footprint sketch and designate all sketch lines as non slope defining.
As you have observed in the us roof slope is always indicated as x 12.
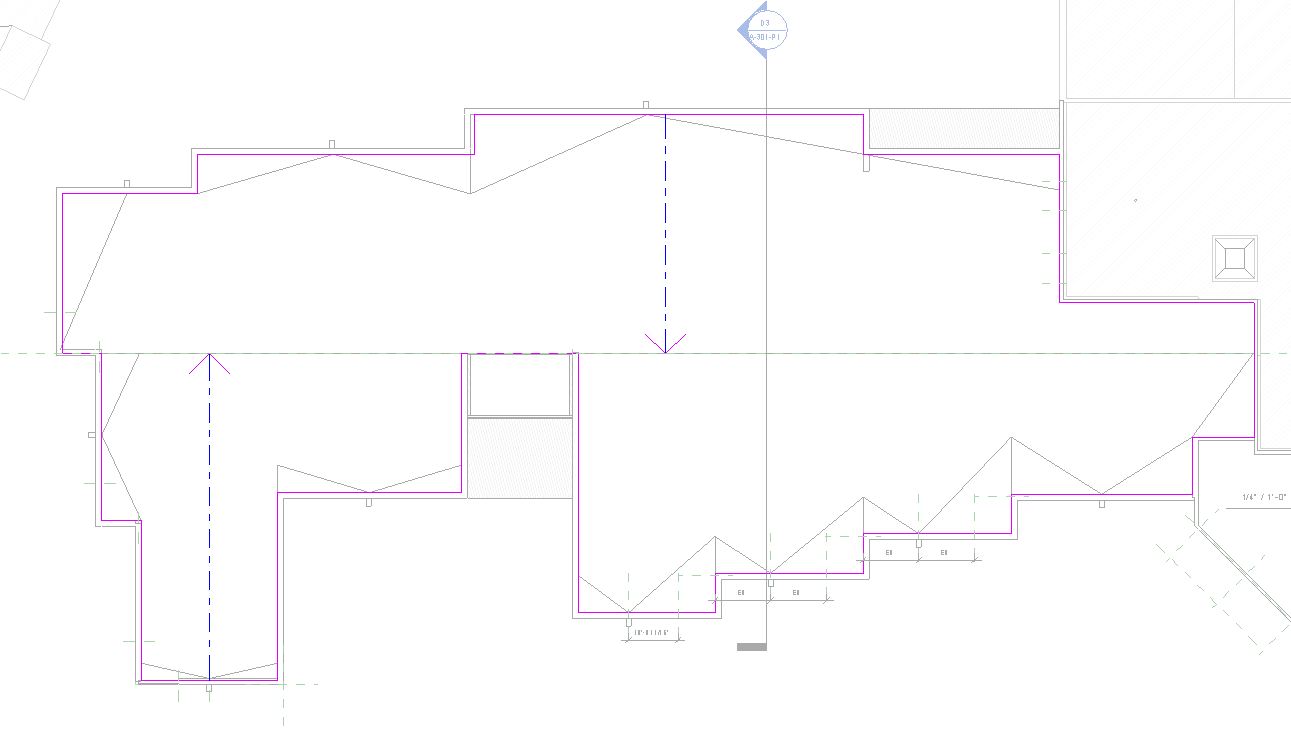
The arrows do not extend from the ridge to the eave.
Click modify create roof footprint tab draw panel slope arrow.
Ramp slope and stair direction arrows may be up or down so require a notation up down at the base or along the line of the arrow.
You can find the slope arrow tool located on the create roof footprint tab.
If the level goes down with respect to where you stand the arrow faces down and vice versa.
The slope should always be noted in elevation and section views.
You know the height at the top and bottom of the element plane rather than the slope angle.
The slope is diagonal across the surface or.
Noting it in plan view is optional.
The arrow line extends to the end edge of the ramp or last tread and start with a dot and end with an arrow.
Choose arrow family type.
By running the insert roof slope arrow function you will get access to the slope arrow called nvslopeandelevationarrow.
You want to draw the slope in a plan view.
Use a slope arrow when.
One very important thing to note when using slope arrows is that the tail of the arrow need to spring from a boundary line and the head needs to correspond with the highest point of the roof ie the ridge in this case.
Run the insert roof slope arrow tool.
When you run the tool you will get a dialog warning you to be sure that you have selected the placement method to be on the workplane.
If noted in plan view it is a simple open arrow showing the direction of the slope.
Usually in the center of the ramp or stair.
The reference plane in the sketch indicates where.
Is there a way to automatically indicate the slope orientation and amount like some sort of roof tag.
For example you can use slope arrows to adjust a flat roof to satisfy a particular height at a drainage point.
On the properties palette select new sketch.
Roof slope arrows are only shown in plan view and always point down.
However on the roof plan the roof looks flat.